Getting started
This guide will show you how to request and use resources on the imec Virtual Wall testbed.
Getting an account
To access resources on imec testbeds, you need an account from a user authority. Choose one of the following:
- In general: SLICES RI Portal
- For IDLab employees/students (imec, UGent and UAntwerp): imec Testbed Portal
Setting up your Experimenter Tools
Install jFed
You can request resources on the imec testbeds via the Aggregate Manager API (which is used by all testbeds in the European Fed4FIRE+ and US GENI federations).
jFed is a toolkit developed at imec which provides an easy to use GUI to create a network topology, configure the requested resources, and to request these resources over the aforementioned API.
Follow the installation instructions on the jFed download page for your operating system.
Start jFed and Log in
There a 2 basic methods to log into jFed:
- Authority Login (recommended):
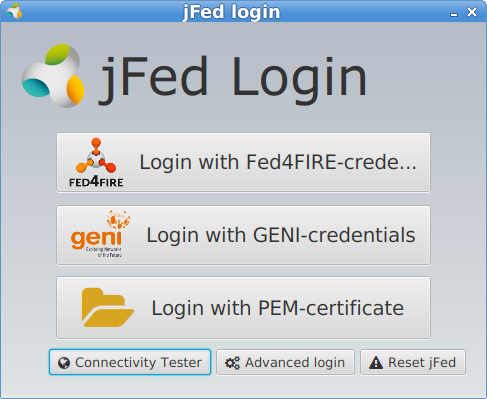
- Either start jFed from the button on the site that provided your account, or start jFed and click on either “Login with Fed4FIRE credentials” or “Login with GENI credentials”. jFed might will ask your account info and password. (After the first login, you’ll only need your password)
- Manual Login:
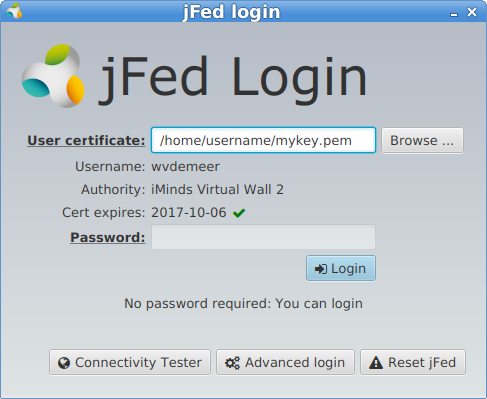
Alternatively you can start jFed, then click “Login with PEM-certificate”. You will need the “certificate file” (a PEM file containing your certificate and private key) that you can find at the website that provided your account.
Then, on the next screen, open the “certificate file”, provide your password and press the login button.
Check Settings (optional)
After you login for the first time, a dialog box will pop up to say that you have to configure jFed for this initial run. You do typically do not need to make any changes, but it might be good to check out some settings.
Check Windows Preferences (optional)
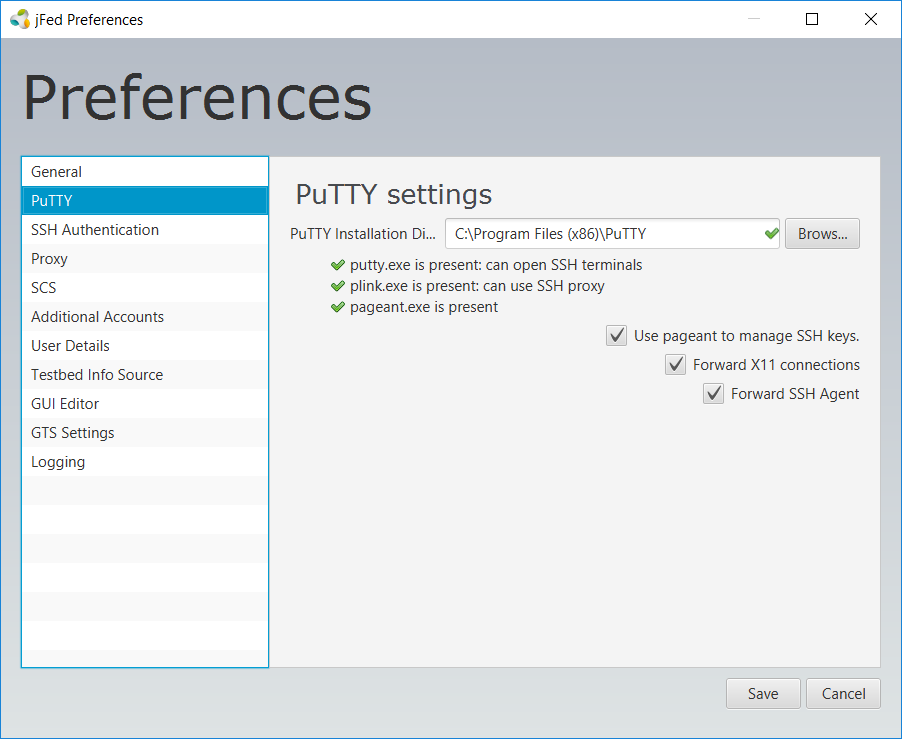
In this preferences settings you should point jFed to the PuTTY installation directory. You should see all green checkmarks. If not, then please download and install PuTTY
Click on Use pageant to manage SSH keys to enable the PuTTY ssh agent which makes that you only once have to type the passphrase on your ssh key.
Click Save at the bottom right to save these settings.
Check Unix/Mac Preferences (optional)
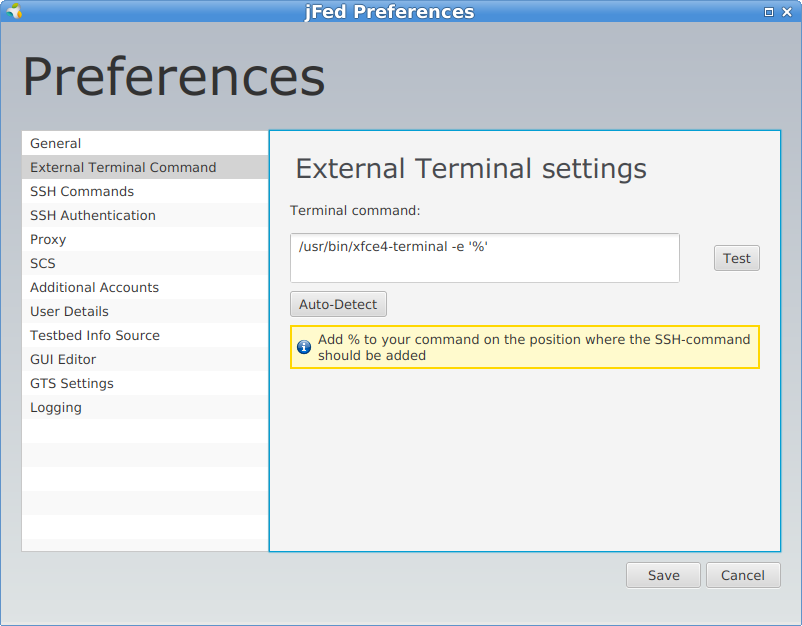
In this preferences settings, jFed should have a reasonable terminal configuration, so only change the default if it doesn’t work when logging in.
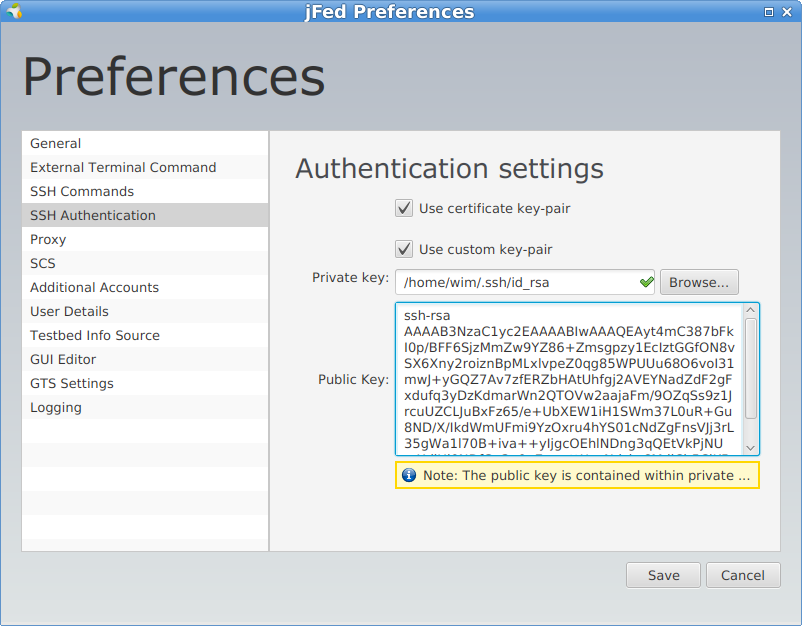
Secondly, you can click Use custom key-pair and point jFed to a private and public SSH key you have saved on your PC.
This is not required, as your account is associated with an SSH key that jFed will use.
Click Save at the bottom right to save these settings.
Your First Experiment
Create your first experiment
When you have logged in, and checked your preferences, you see jFed with no experiments loaded.
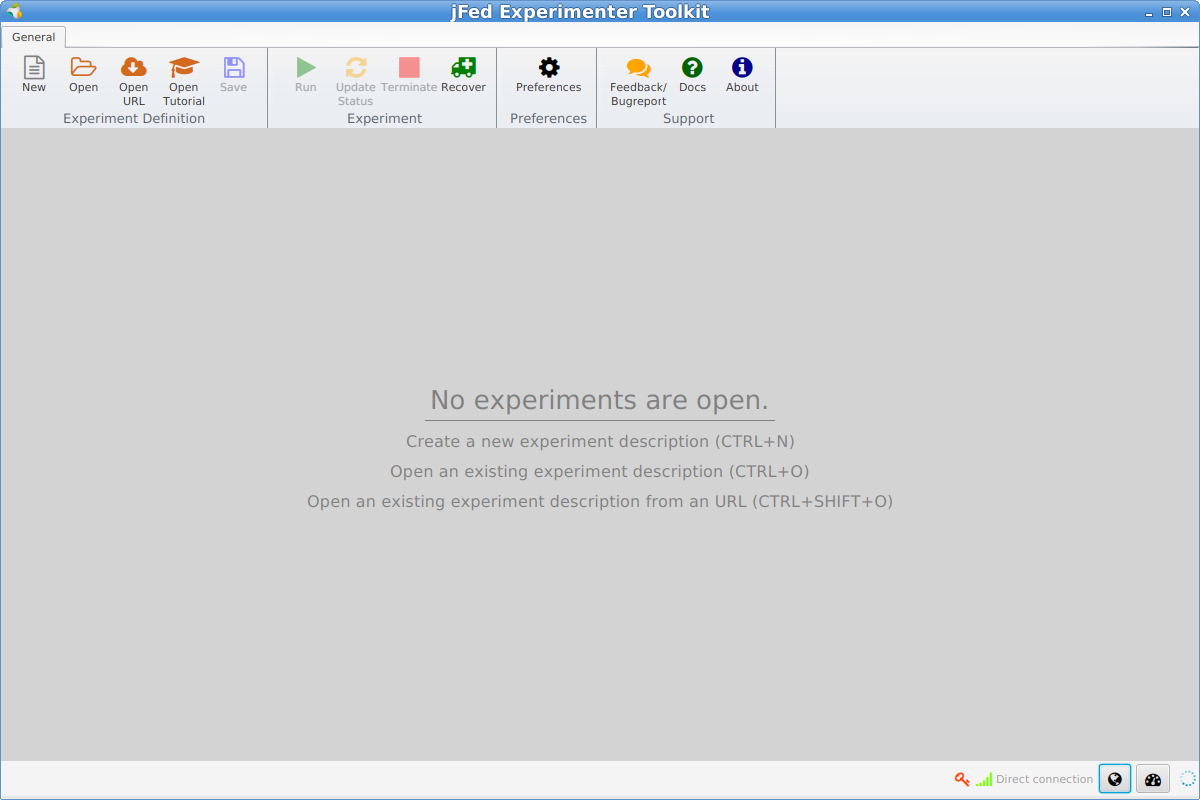
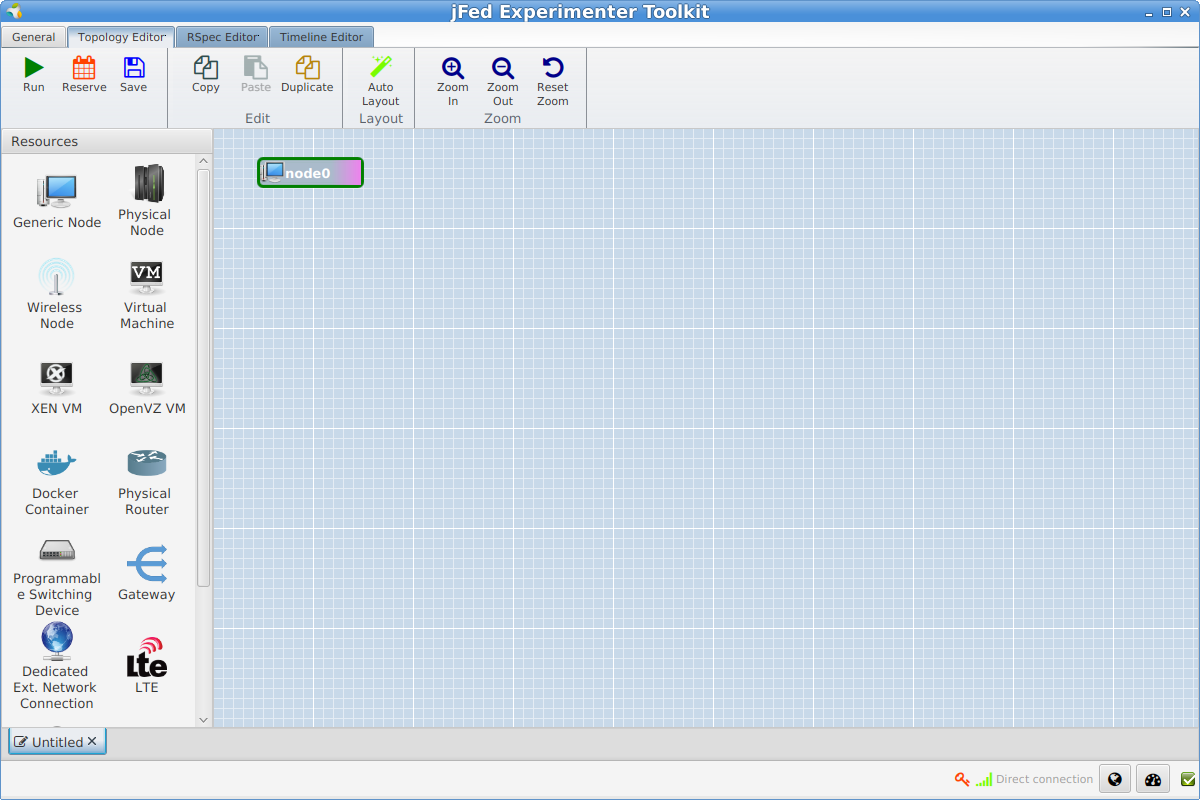
When you click New, you get a blank canvas where you can draw your experiment. Let’s drag in a Physical Node from the left side to the canvas.
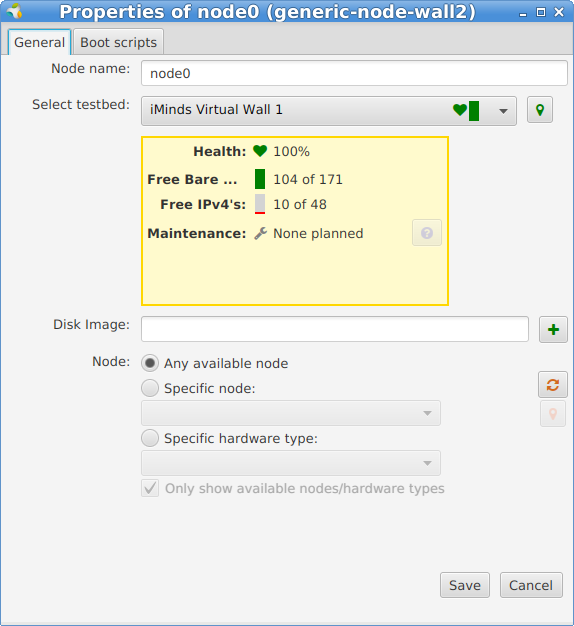
For more specific experiments you can right click and configure the node, but for now let it in the default settings.
Run the experiment
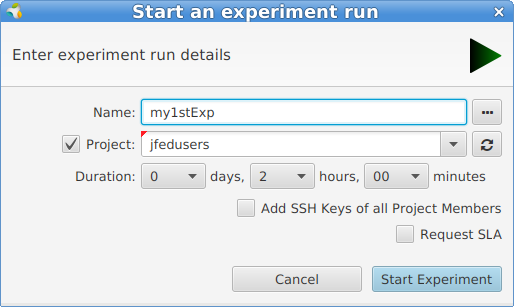
Let’s run this experiment, by clicking the tab General at the top, and then the Run button. We will now have to
choose a name for the experiment (= slice name) and choose a maximum duration.
Attention
The experiment will fail if the slice name is already in use. Avoid using generic names like test or exp to prevent these failures.
Tip: Append your initials to the slice name when you run into trouble.
It will now take a couple of minutes to get the node set up.
Login on a node of the experiment
When the node becomes green, we can either double-click on the node, or right click and choose Open SSH terminal.
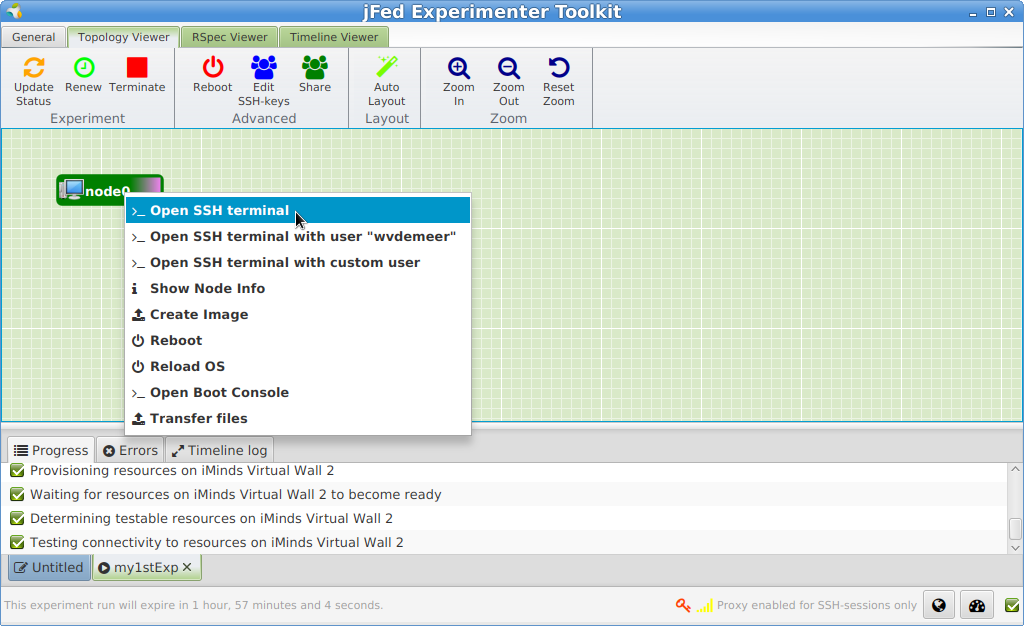
jFed will open an SSH-session for you (in PuTTY on Windows, in a terminal on Linux or Mac).
The nodes from the Virtual Wall and w-iLab.t are accessible natively and publicly through IPv6 SSH (based on SSH keys which are installed by the Aggregate Manager). The RSpec manifests return DNS names, and these resolve to IPv6 addresses. This is true for physical hosts and XEN VMs.
If you don’t have native IPv6 access, you can either use an IPv6 tunnel broker or use the built-in proxy for SSH-connections in jFed, which proxy’s the SSH-connections over an IPv4 SSH Proxy maintained at imec.
To activate the jFed SSH Proxy:
- Go to jFed preferences
- Click
Run Proxy Testat the bottom right - Click
Alwaysbesides Proxy for SSH connections - Click
Save.
Note
The jFed SSH Proxy only works out of the box for accounts from the imec User Authority.
GENI Users need to join the ‘ipv6proxy’ project, which allows imec to retrieve the SSH public key associated with your credentials, which are needed to secure communications with over the imec SSH Proxy.
Ending the experiment
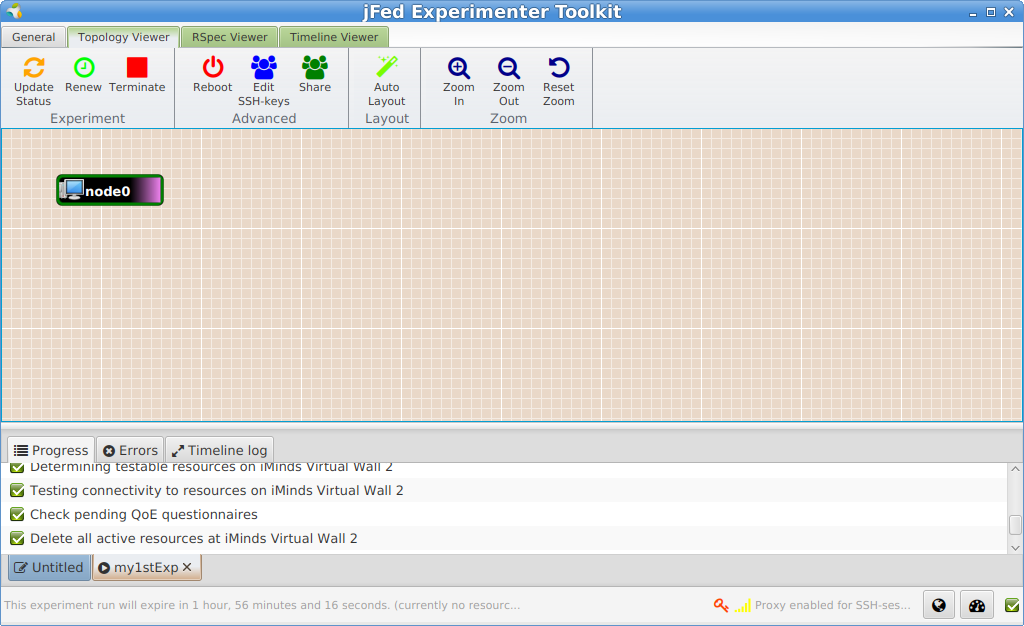
To release your resources before the end time of your experiment, you can click the Terminate button at the top in jFed.
After that the nodes will become black and if your ssh connection is still open, you can see that the node will be shutdown.
Going Further
This example showed you how to request one resource on the imec Virtual Wall. You can create more complex setups by using the Drag-and-drop interface of jFed, or by directly editing the Request Rspec. You can find examples of complex setups on the Building a Resource Request page.

